AFFILIATE DISCLOSURE
This post may contain affiliate links. An affiliate means Escribr may earn referral fees if you make a purchase through our link without any extra cost to you. It helps to keep this blog afloat. Thanks for your support!
Did you know that by visiting this blog, you are doing good in the world? READ THIS.
Contrary to what most people think — that transcription is easy, you just have to type fast — transcription can be a tedious job and it can eat up a lot of your time.
To make your job as a transcriber more efficient and less daunting, here are a few tools you must have.
1. Transcription Software
In transcription, you use two applications — an audio player and a text editor (usually a Word document) — since you’re listening and typing at the same time.
If you use an ordinary audio player like VLC or Windows Media Player to play audio, you’re going to have to switch from the audio player to Word and vice versa.
With transcription software, you don’t have to switch from one application to the other.
A transcription software enables you to easily play and pause the audio while typing by using the function keys on your keyboard, also known as hot keys.
 Otter.ai Alternatives Worth Trying" />
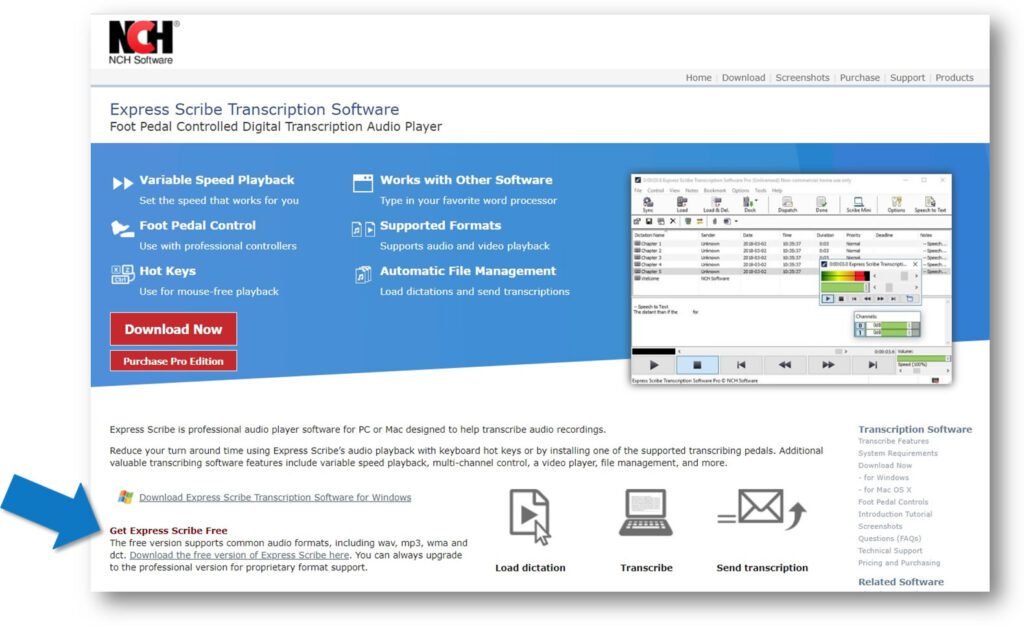
Express Scribe is a popular transcription software used by many transcribers.
It has a free version and a paid version. As you would expect, the free version has limited features but is enough to do transcription efficiently.
Express Scribe works for both Windows and Mac computers.
Here’s how to use Express Scribe:
Download Express Scribe and install it on your computer.
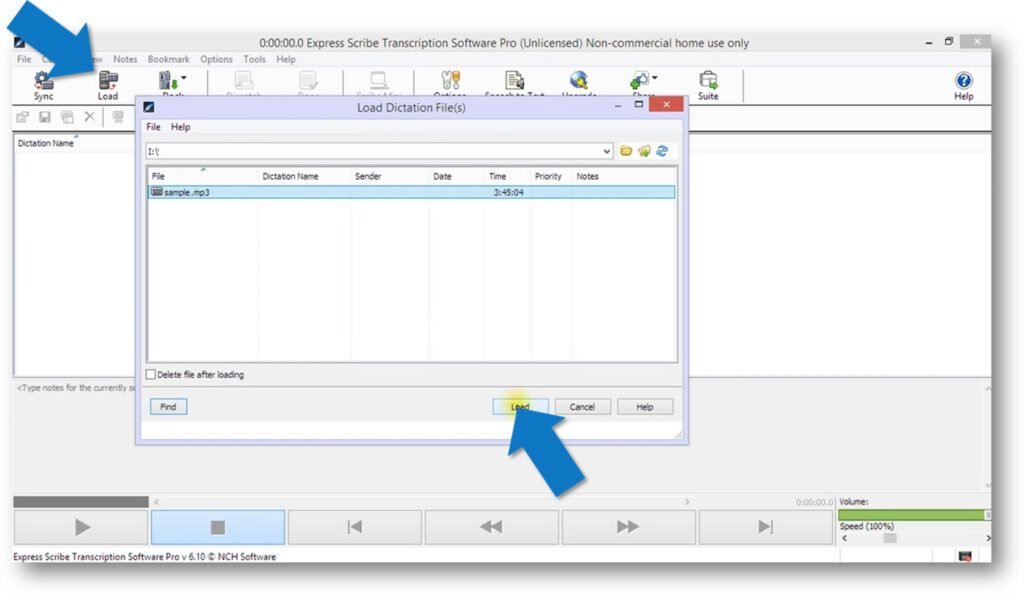
To transcribe audio or dictation, click the Load button on the toolbar to navigate to the audio or video file you want to transcribe.
Highlight the file in the dictation panel then press F9 to listen to the audio.
Default Hot-Keys:
F9 = Play
F4 = Stop
F7 = Rewind
F8 = Forward
You can also adjust the speed of the audio by using the slider on the lower right of the Express Scribe window.
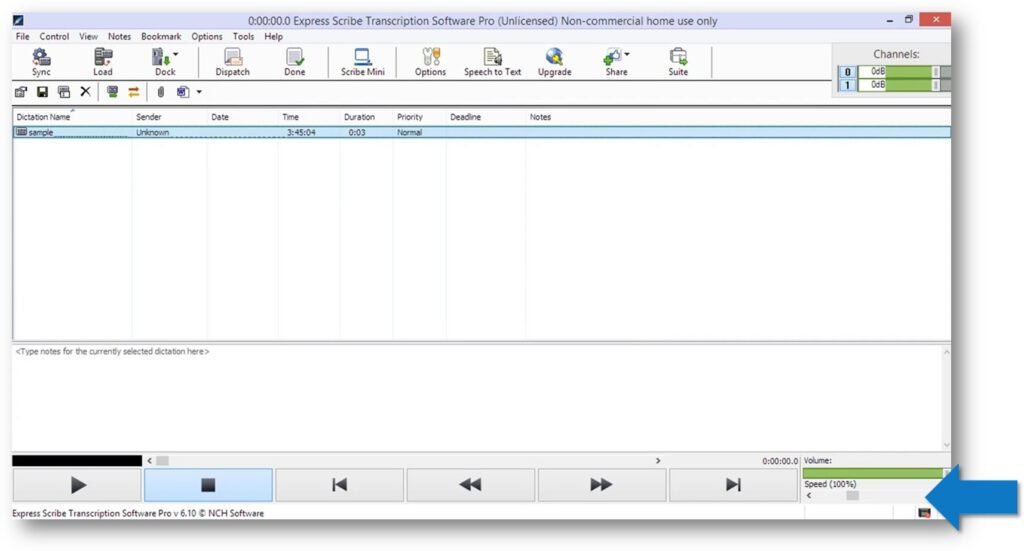
It is probably going to take you some time to get used to these hot-keys, but once you get the hang of it, it’s going to help a lot in getting the job done.
2. Automatic Transcription Tool
Fast typing is one of the criteria of a good transcriber. Your typing speed should be at least 60 words per minute for you to be able to earn a decent living in transcription because you’re not paid per hour but per audio hour, meaning you’re paid by how long the audio is regardless of how many hours it took you to transcribe it.
However, that doesn’t mean that you cannot become a transcriber if your typing speed is less than 60 words per minute. You can get better and faster with practice.
To help you with your transcription, you’re going to need Otter.
Otter is a web-based application that uses artificial intelligence to automatically convert audio to text. It creates a draft transcript for you ready for editing; therefore, it’s going to cut the time you’d have to spend transcribing manually.
Here’s how to use Otter:
Go to Otter and create a FREE account.
1. Check your inbox and confirm your email address.
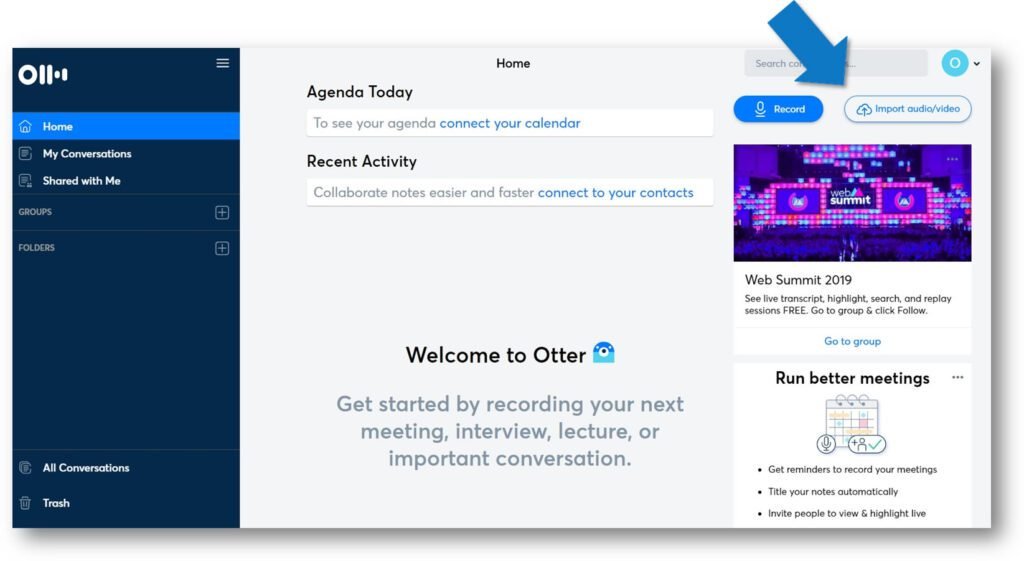
2. Log in to your account and click Import Audio/Video.
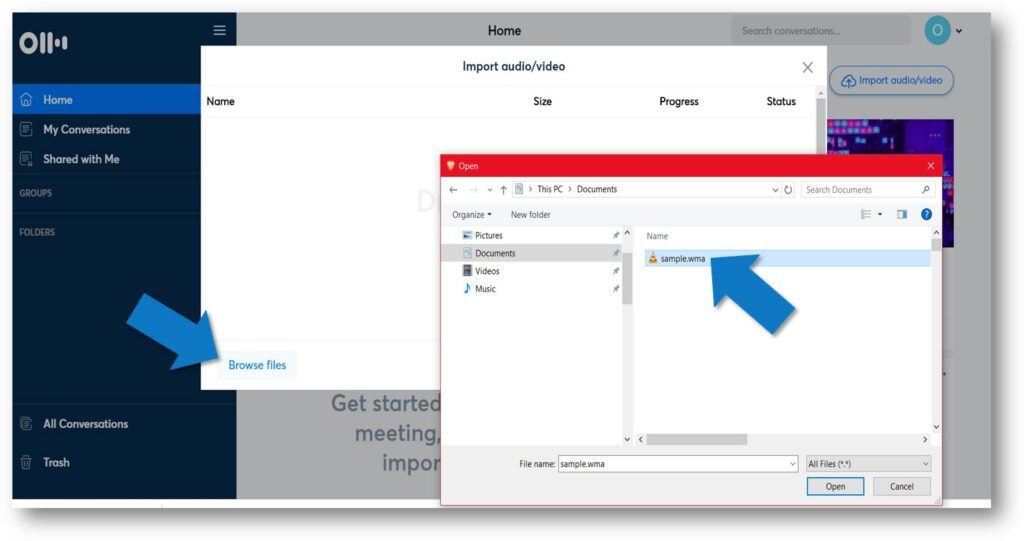
3. Click Browse Files and find the audio you want to import.
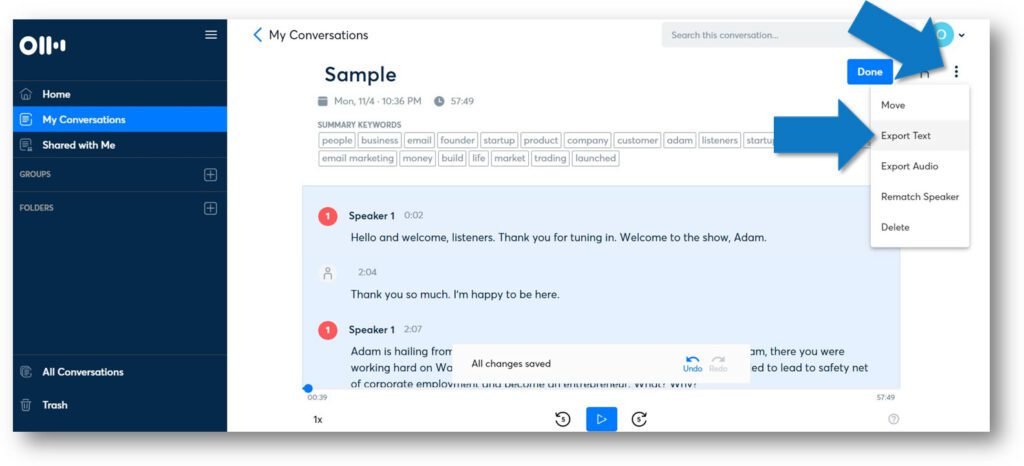
4. When the upload is done, wait for the transcript to be processed. Once the file is processed, go to My Conversations and click the file you have uploaded.

5. Click the ellipsis (three dots) vertically aligned, then click Export Text.
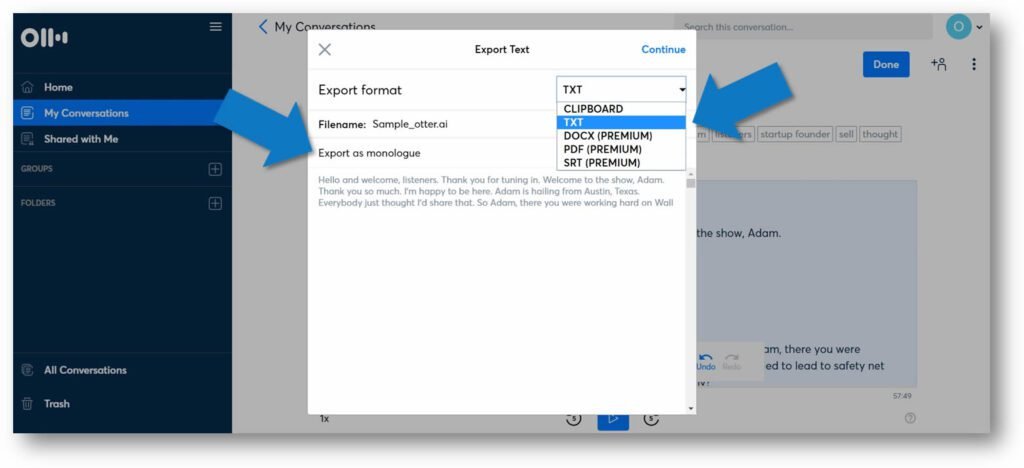
6. Choose TXT export format and Export as Monologue (it’s easier to edit and insert speakers if the text is just in one paragraph) and then click Continue.
You can now copy and paste the text on a Word document and edit the transcript, insert speaker tokens, and format it the way you want.
Otter’s limitations:
(1) It only works well with good audio. It is not 100% accurate, so you still have to edit the transcript carefully.
(2) It doesn’t use proper punctuation.
(3) It doesn’t identify speakers.
However, Otter will make your work quicker rather than transcribing from scratch.
NOTE: Otter limits each transcription to 40 minutes and up to 3 imports for basic accounts. You have to upgrade to a Premium account to enjoy all the features.
3. Text Editor and Writing Tool
You need Microsoft Word installed on your computer to transcribe an audio and format the transcript. But as you may well know, a licensed Microsoft Word is going to cost you.
A great alternative to MS Word if you’re looking for a free application is WPS Office.
Just go to wps.com to download it and install on your computer.
4. Audio/Video Converter
The first reason why you would want to have an audio or video converter is because the free version of Express Scribe doesn’t accept some audio formats and videos, which means you won’t be able to play them using Express Scribe. The only way you can work around it is to convert the audio/video.
Examples of audio formats that clients use are m4a and AIFF. If the version of Express Scribe you are using doesn’t accept these formats, then you need to convert it to another compatible format.
Another reason why you need a converter is if you don’t have very fast internet, it’s going to take time for you to upload a big audio file to Otter.
So one way to make your uploads faster is to convert it to a smaller file.
A free converter you can use is AIMP.
1. Upload AIMP and install it on your computer.
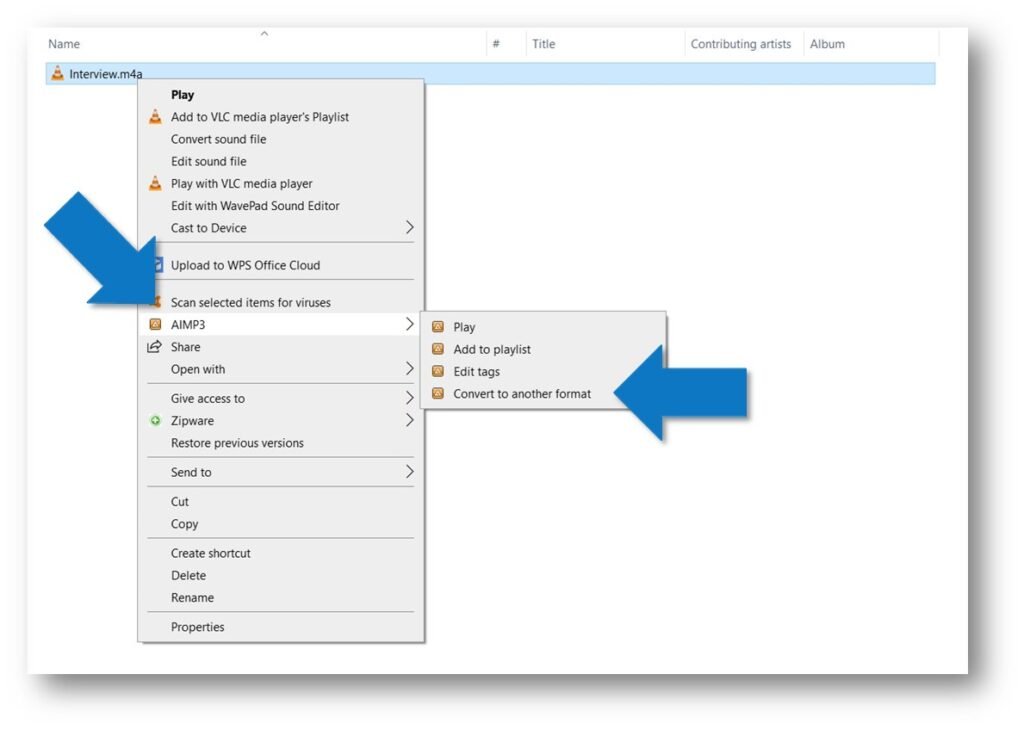
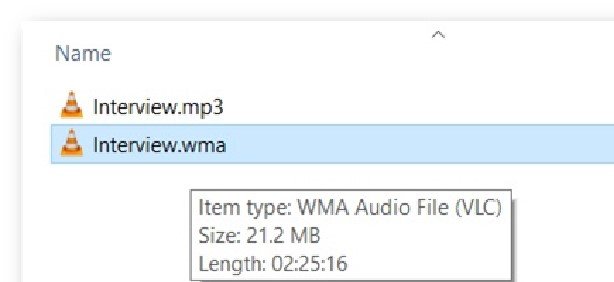
2. Right-click the audio file you want to convert, and then choose AIMP > Convert to another format.
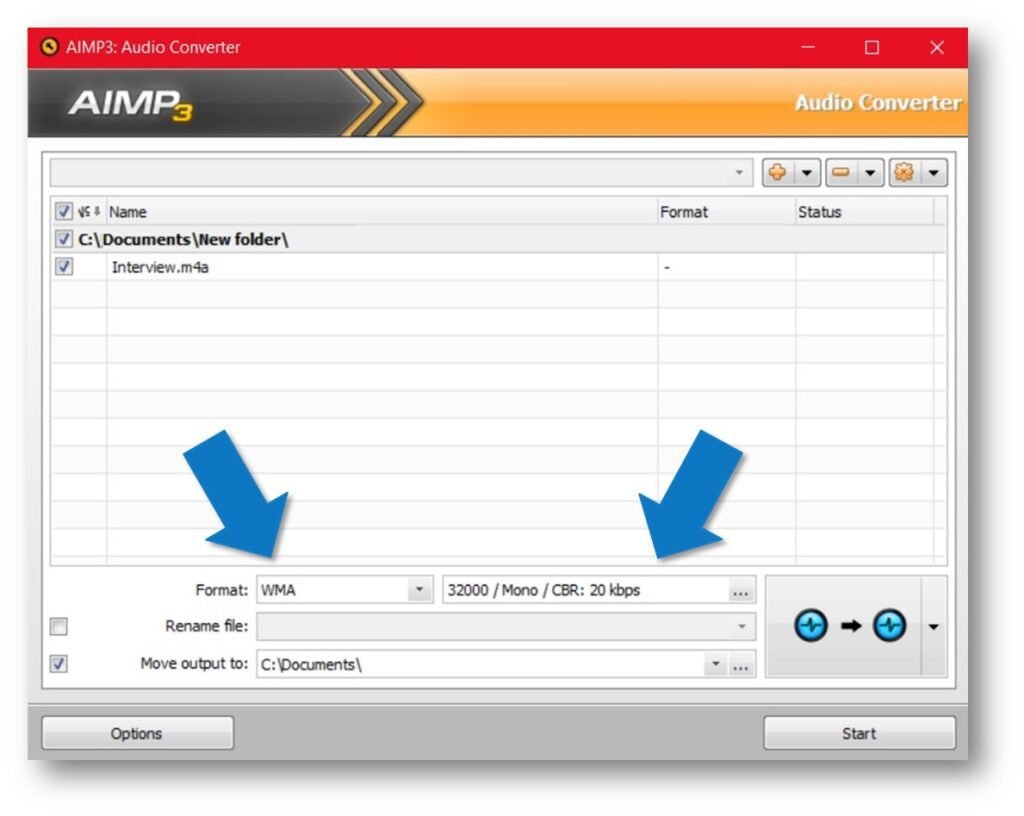
3. Under Format, choose WMA and 3200/Mono/CBR: 20 kbps. Then click Start.
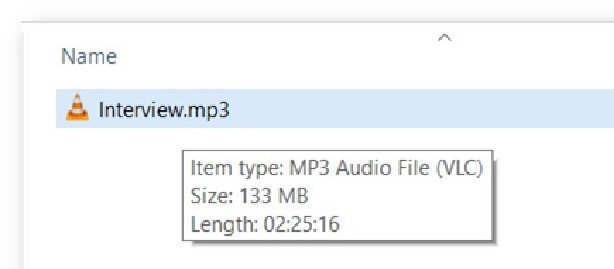
In this example, a 133 MB file is converted to 21.2 MB without changing the quality of the audio.
5. Fast Browser
Since you’re going to be researching a lot in transcription, you are going to need a safe and fast browser.
We highly recommend using Brave browser.

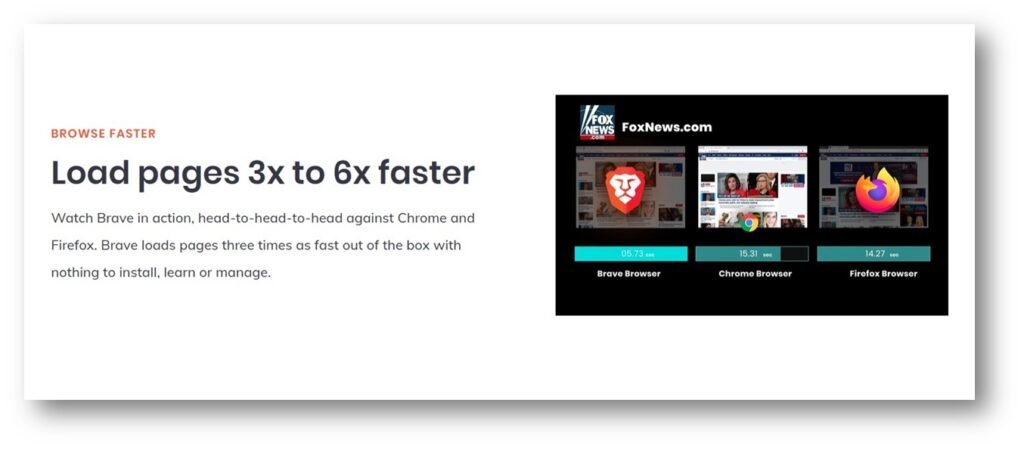
Pages load faster in Brave than in Chrome and Firefox, which means it’s going to cut the time you spend researching.
6. Grammar and Spelling Checker
Here’s another useful tool that you can use in transcription. It’s going to help you when you’re editing your transcripts or composing emails to your clients.
It’s a grammar and spelling checker called Grammarly.
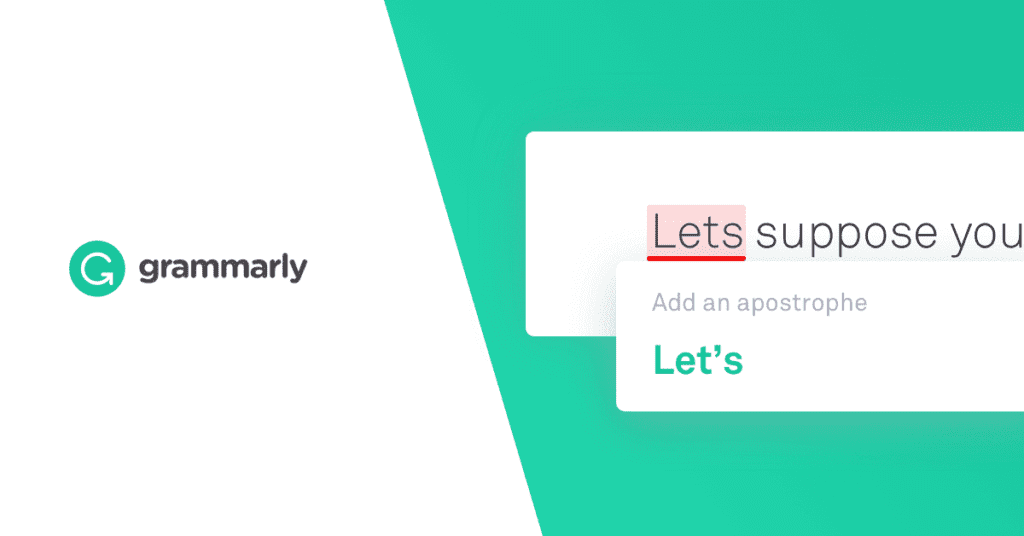
Grammarly is a free application that uses artificial intelligence to check grammar and spelling.
It is used by many transcribers, bloggers, writers, editors, proofreaders, and even teachers to find and check errors.
Transcribers type fast and it’s very easy to miss little but important details like a comma or an apostrophe. Quality and productivity definitely will increase if you can spot mistakes quickly.
How to Use Grammarly
1. Use Grammarly as an add-on for MS Word.
1. Download the application for MS Office and install it on your computer. You’ll be prompted to sign up.
After installation, open a Word document to see if it’s added.
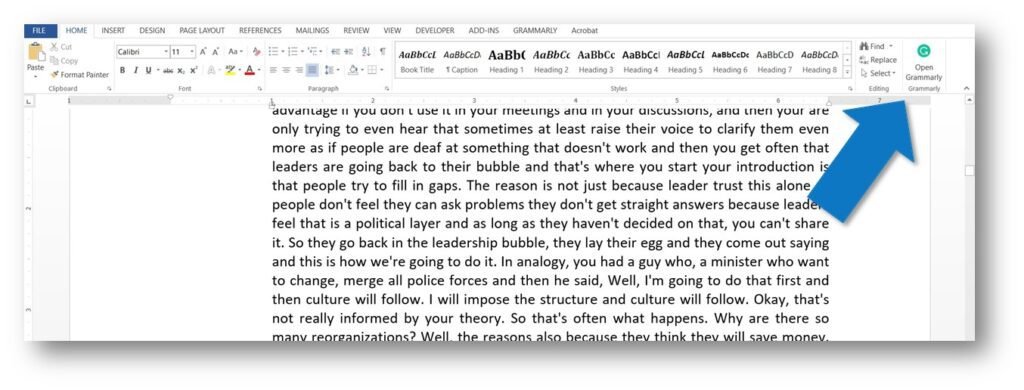
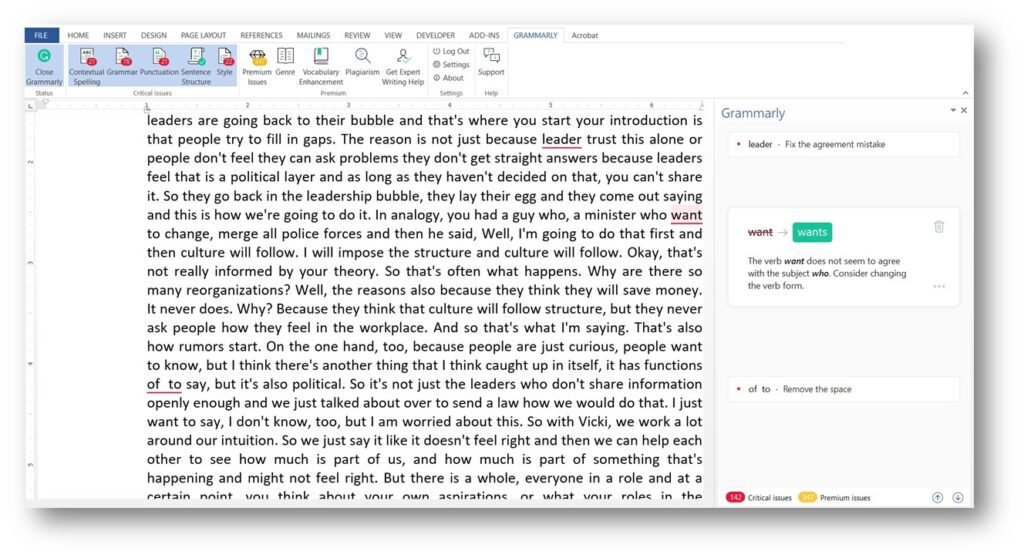
Click the icon to run Grammarly. You should see the errors that Grammarly detected and suggestions of how to fix them.
2. Use Grammarly as a browser extension.
1. Go to Grammarly website and click the button where it says “Add to Chrome It’s free.”
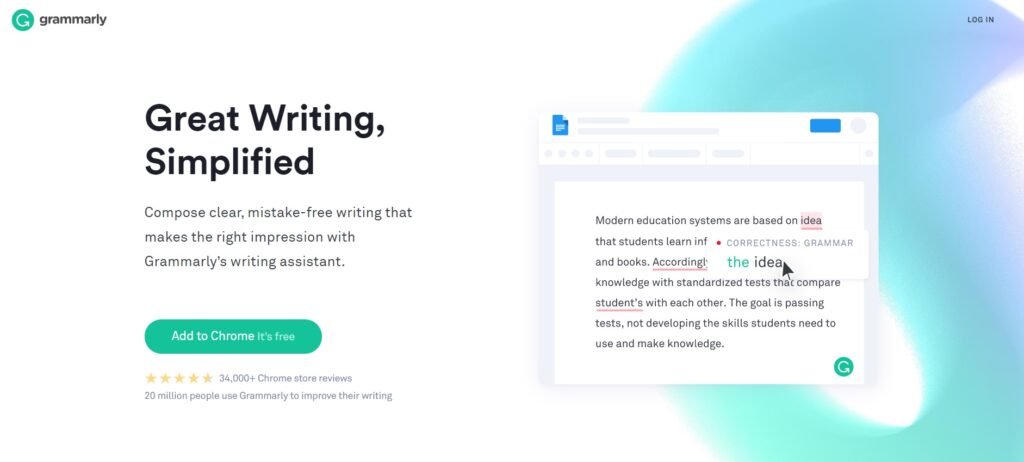
2. If you’re using Brave browser, “Add to Brave” button appears. Click the button.
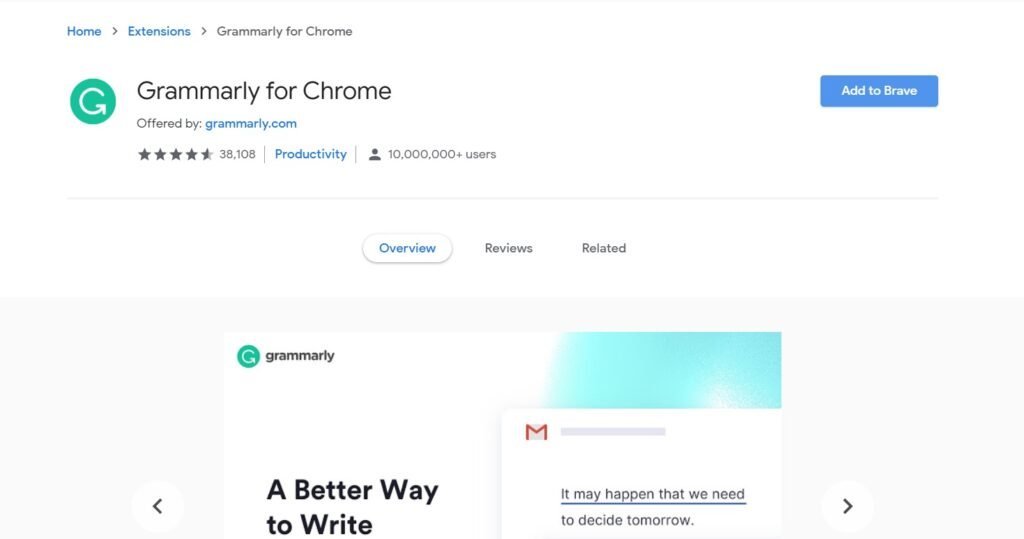
3. You should see Grammarly’s icon next to the browser’s address bar. As you write your emails, you will get suggestions from Grammarly.
While Grammarly helps you produce good transcripts, don’t rely too much on its capabilities. Humans are still way better than artificial intelligence.